
Making homemade almond milk is one of the easiest things you will probably ever make.
There are only 4 easy steps: soak, blend, strain, and store. And there are only a few items you need to get started, the most important being organic, raw unpasteurized almonds.
A few are inexpensive, like a small bowl to soak the almonds in, a nut milk bag and an air-tight glass container.
The other two, are what I consider an investment - in your health. They are not only essential for making pure, organic nut milk, but in the kitchen for preparing healthy recipes.
- The first is a high-quality, high-speed blender, like a Vitamix, which is what I have been using for 11+ years now. It. has. more. than. paid. for. itself. I use it every day, sometimes 2-3 times a day.
- The second, and this is very important, is a Berkey water filter system, which I have been using for 8+ years now. It. has. more. than. paid. for. itself. I use it to soak my nuts, make nut milk, in any and all cooking, making tea/coffee, in my essential oil distiller, drinking water, or any other reason we would consume water. I never use tap water. I even have a smaller unit that we take with us when we travel.
I'll go into more detail about why these are important below.
Over the years, I used to buy different varieties of non-dairy boxed milk (soy, almond, rice, coconut, etc.), but since I've been eliminating processed foods from our diet, I've started making my own.
If you look at the ingredient list on a store-bought box of almond milk, you will see that there are 11 different ingredients:
S.A.D. (Standard American Diet) Blue Diamond Original Unsweetened Almond Milk Ingredients
Ingredients: Almond Milk (Water Filtered, Almonds), Calcium Carbonate, Sea Salt, Potassium Citrate, Sunflower Lecithin, Gellan Gum, Natural Flavors, Vitamin A Palmitate, Vitamin D2, D Alpha Tocopherol (Natural Vitamin E)
It's a processed beverage and contains unnecessary ingredients.
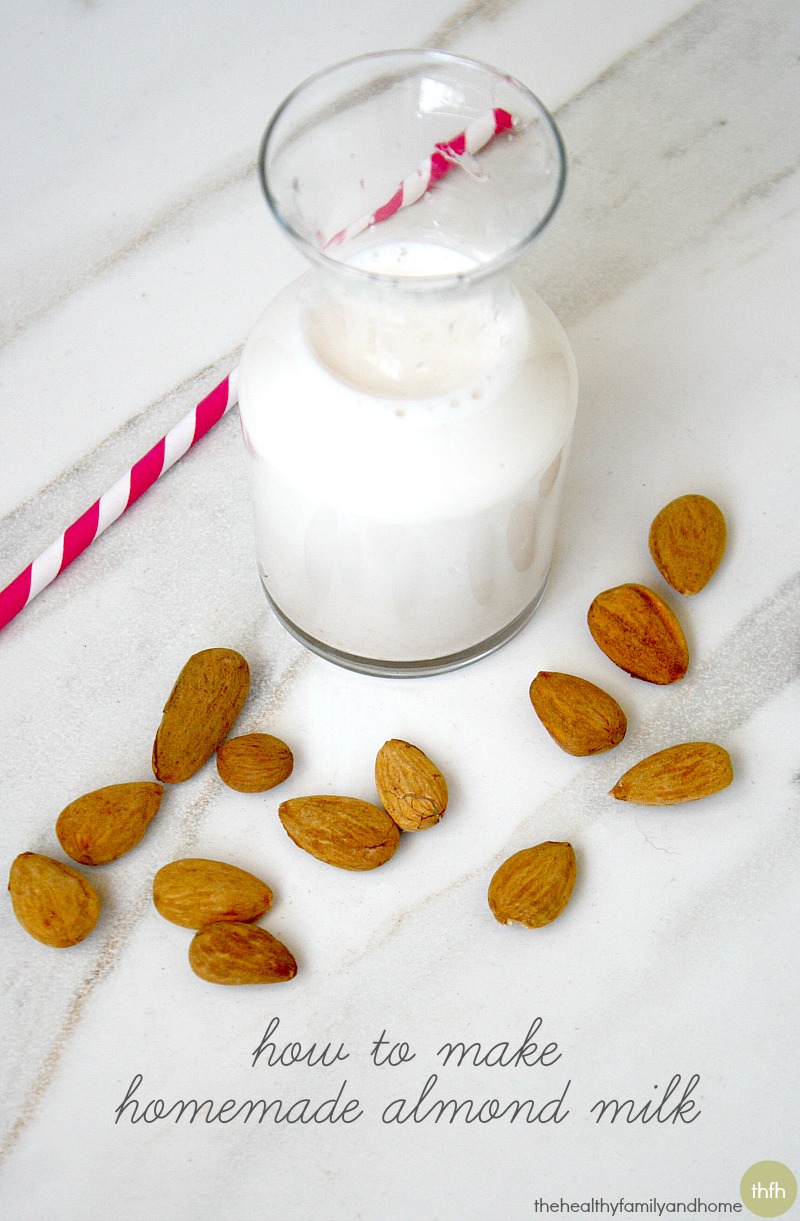
Homemade almond milk has only two ingredients: 100% organic, raw unpasteurized almonds (that have been soaked and dehydrated) and purified/filtered water.

I don't want to just give you a recipe and send you on your way. I want to go into detail about why some of the steps are important, as well as the ingredients you use.
Now, let's go through the 4 easy steps:
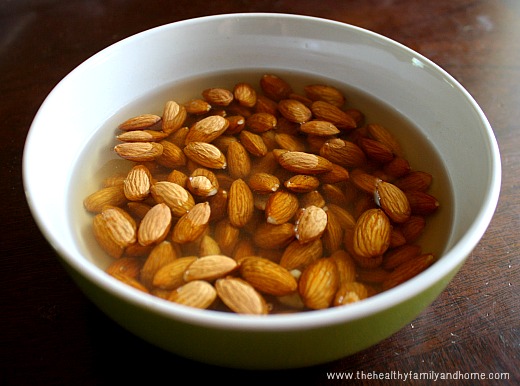
1. Soak - to get the maximum nutrition from your homemade almond milk, you will want to soak your almonds overnight before using them. This will release the enzyme inhibitors (see Tip #2 below). I'd like to mention two very important points here about your almonds and water. First, you will want to make sure you are using organic raw unpasteurized almonds. There are up to 9 different potential pesticides that are used on almonds, and you don't want to make your milk with almonds covered in pesticides (see "Tip #2 below). Second, if you are making homemade almond milk to avoid additives and unnecessary ingredients, you do not want to use regular tap water to soak and rinse your almonds in. And you definitely don't want to use regular tap water to make the milk with. The only water we consume in our house water from our Berkey. By using purified/filtered water, the only ingredients in your homemade almond milk will be organic almonds and purified/filtered water - nothing else.
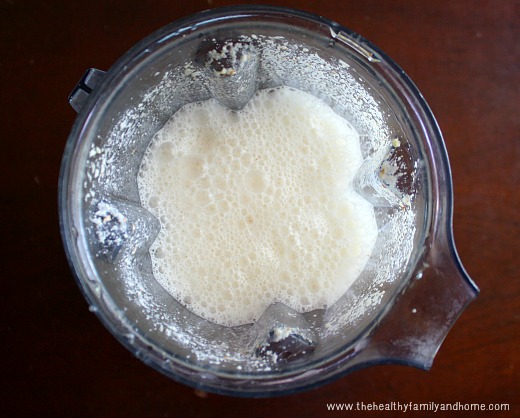
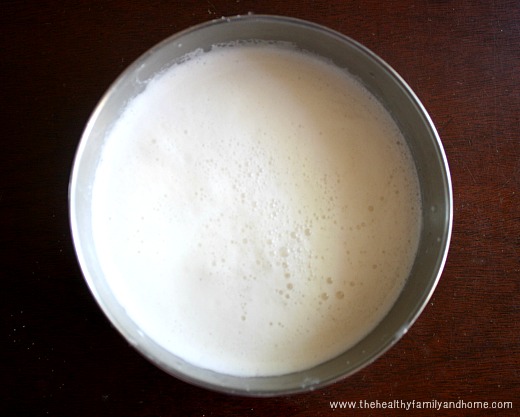
2. Blend - you will need a Vitamix to make your homemade almond milk. This is a perfect example of how it will pay for itself over time, especially if you make milk on a regular basis. You will put the almonds and water into the Vitamix and within a matter of minutes, it will be transformed into pure, white almond milk. When you add the water to make the milk, you will want to use purified/filtered water for the reasons listed above in item 1 - do not use regular tap water.
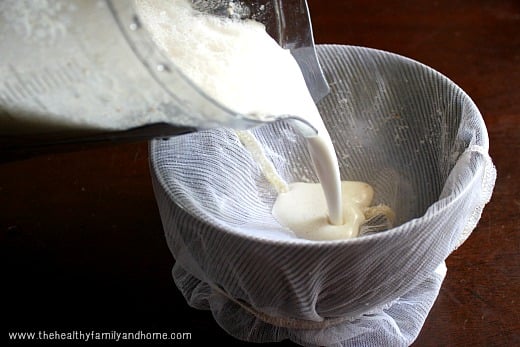
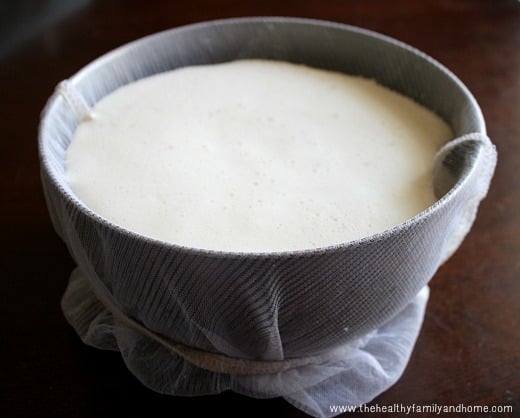
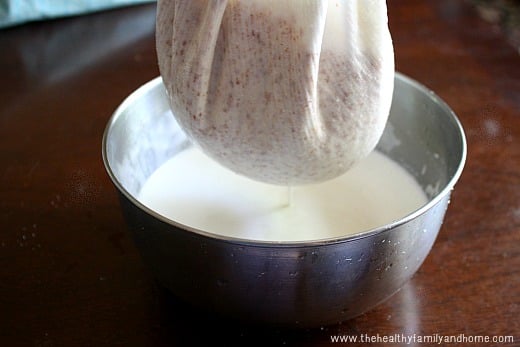
3. Strain - this is a really easy step. All you need to strain the milk is a small/medium-sized bowl (I use a small stainless-steel bowl) and an inexpensive nut milk bag. I place the nut milk bag into and around the outside of the bowl and pour the entire contents of the Vitamix into the bowl at one time. Then with clean hands, I squeeze the remaining milk out of the nut bag.
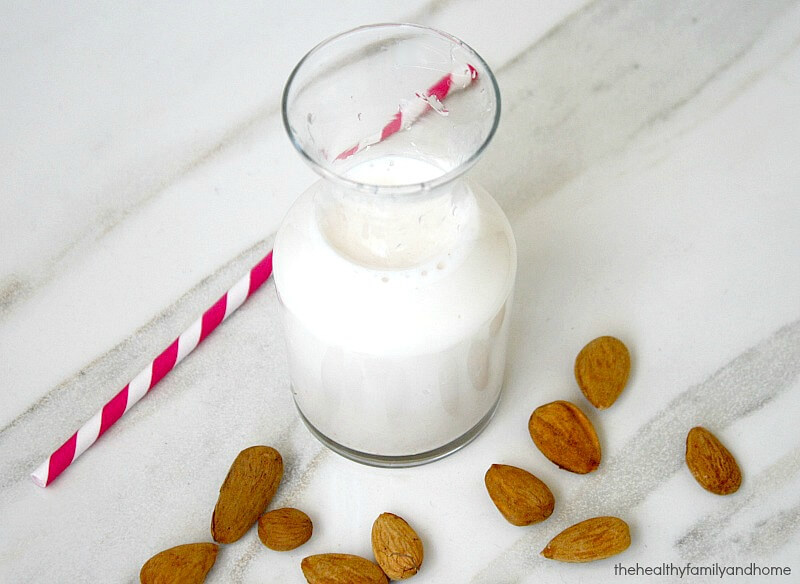
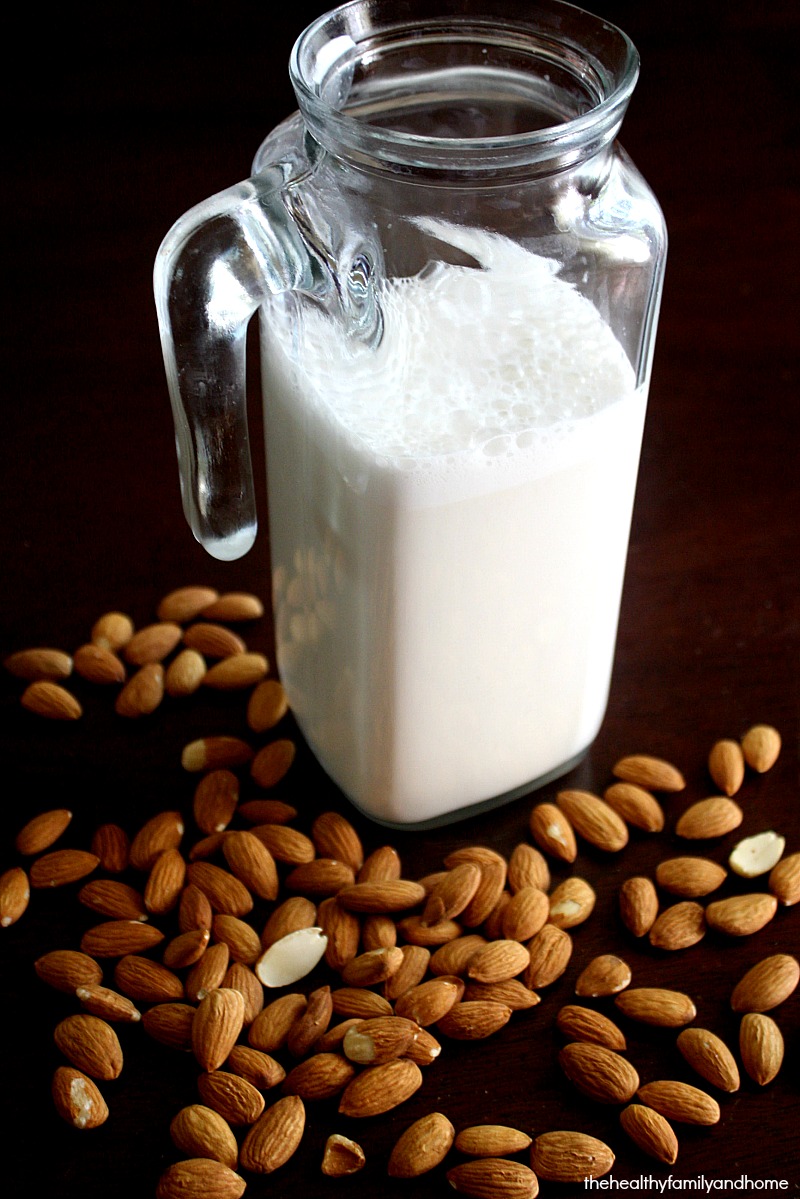
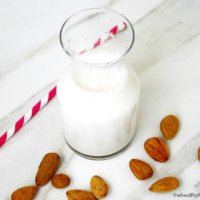
4. Store - once you've made your homemade almond milk, you will need to store it. You'll need an airtight container and don't want to store it in anything plastic or with BPA. I've used an air-tight glass container (like the one shown below) that is the perfect size for one batch and have also used a large glass mason jar. If you are just getting started, there are also these neat "combo nut milk starter kits" available in quart and half-gallon sizes that have a glass mason jar + nut milk bag. Because it doesn't have any preservatives in it like store-bought milk, I don't store it longer than a couple of days, so I usually make a batch every day or every other day. It will also need to be shaken in its container or stirred before using because it will naturally separate.
That's about it! It takes less than 5 minutes to make it and is so much healthier than boxed, store-bought almond milk.
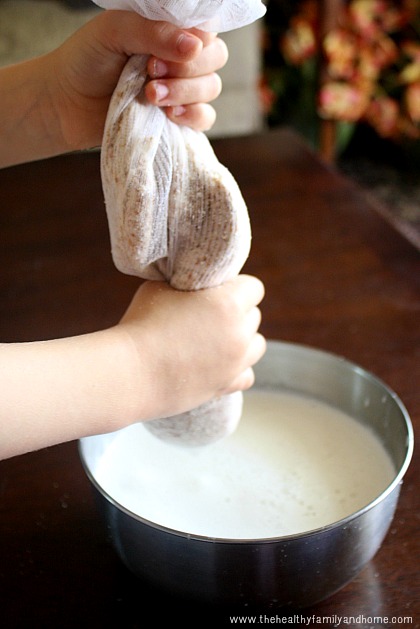
And when I say it's easy, I really mean it's easy.
My youngest son likes to make the milk sometimes himself. He measures the almonds, puts them in the bowl to soak before we go to bed. In the morning after I've rinsed them off, he adds them to the Vitamix, fills it up with water to 4 cups and turns it on. And when it's finished, he even strains the milk himself.
Tip #1: The quality of your almonds is really important.
- non-organic - you could be purchasing almonds with up to 9 different pesticides
- pasteurized almonds - these are not truly "raw" and could also have been treated with the controversial "propylene oxide (PPO)
Effective September 2007, the USDA ordered all almond growers to "sterilize" almonds in one of several ways: heat them using steam, irradiate them using a controversial ionization process, roast or blanch them, or treat them with propylene oxide (PPO).
PPO is a known carcinogen, and most countries, including the EU, have banned imported nuts treated with PPO. The chemical is so nasty that it's even been banned by both the National Hot Rod and American Motorcycle Racing Associations, where it had been used as a fuel additive before it was deemed too dangerous.
The new rule created deceptive labeling. Almonds that have undergone chemical treatments or heating for pasteurization are still labeled "raw." Consumers who purchase "raw" almonds may well think that those almonds are natural and unprocessed. Moreover, there will be no labeling requirement to specify what kind of pasteurization treatment was used among the many approved methods or a combination of options. (source)
So, you want to make sure you are using truly raw, organic and unpasteurized almonds to make the healthiest milk possible. I buy several bags at a time and soak and dehydrate them all at one time.
Tip #2: Soaking your almonds (two options):
- Individual Batch Soaking: (buy a couple of cups or (1) pound of almonds at a time) - you can use the overnight soaking method. Put (1) cup of almonds in a bowl of water, add enough purified/filtered water to cover them plus an additional 2 - 3 inches of water on top (they will absorb some water), add a generous pinch of Himalayan pink salt and let them soak overnight. In the morning, rinse them off with purified/filtered water, add them to your Vitamix with 4 cups of purified/filtered water and process. You will have (4) cups of homemade almond milk.
- Bulk Batch Soaking: (buy several bags of almonds at a time or in bulk) - to save time, I soak the up to (5) pounds of almonds overnight all at one time in a super large stainless-steel bowl and several generous pinches of Himalayan pink salt. In the morning, after rinsing them off, I spread them out on my dehydrator tray and dehydrate them for 12-16 hours or until they are dried. Then I store them in a BPA-free air-tight container, and they are ready to use whenever I need them (for almond milk, almond butter, other raw recipes or just to snack on) and saves me the time of having to soak a batch of almonds every night. When I do this, I put (1) cup of dry (previously soaked) almonds in the Vitamix, add (4) cups of purified/filtered water and process. You will have (4) cups of homemade almond milk.
It's really important to soak your almonds before using them because it will allow greater absorption of nutrients and increased digestibility and nutrients. Nuts and seeds contain phytic acid which contains enzyme inhibitors so by soaking them, you will neutralize the enzyme inhibitors, as well as, encourage the production of beneficial enzymes. This is a good practice for all nuts and seeds, not just almonds.
If you don't have a dehydrator, just spread them out on a baking sheet and set your oven on the lowest temperature possible and take them out after they are completely dry (keep in mind they will no longer be considered "raw" using this method).
How To Make Homemade Almond Milk
Equipment
Ingredients
- 4 cups filtered/purified water
- 1 cup organic raw unpasteurized almonds
Instructions
Prepare the almonds:
- Soak the almonds overnight in a medium mixing bowl with enough filtered/purified water to cover about 3 inches above the almonds (they will absorb some water) and add a generous pinch of Himalayan pink salt.
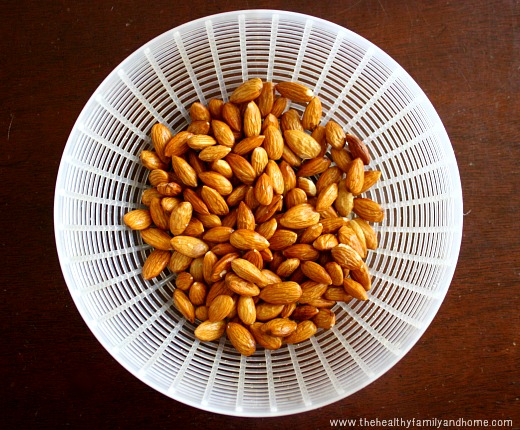
- In the morning, rinse the almonds in filtered/purified water and drain.
Prepare the milk:
- Add 4 cups of filtered/purified water and 1 cup soaked almonds to a Vitamix and blend for 1-2 minutes, or until completely blended.
- Put the nut milk bag over a medium mixing bowl (or large glass mason jar) and pour the milk through the nut milk bag.
- Remove the nut milk bag (which will be full of milk pulp) from the bowl (or jar) and with clean hands, wring the remaining milk from the nut milk bag into the bowl (or jar).
- If you were using a bowl, transfer the milk to an air-tight BPA-free container. If you were using a glass mason jar, cover it with the jar lid.
- Store in the refrigerator up to 2 days.
- Stir before using because the contents will separate.
- Use in any recipe that calls for unsweetened almond or unsweetened non-dairy milk.
- Enjoy!
Recipe Notes
 The recipe and photographs for "How To Make Homemade Almond Milk" by Karielyn Tillman of The Healthy Family and Home™ website are licensed under a Creative Commons Attribution Non-Commercial No Derivatives 4.0 International License and cannot be used without my written permission.
Nutrition Information
Copyright Notice
The instructions, notes, and photographs for this recipe by Karielyn Tillman of The Healthy Family and Home™ website are copyrighted material. This copyrighted work is protected and licensed under a Creative Commons Attribution Non-Commercial No Derivatives 4.0 International License and the Digital Millenium Copyright Act (DMCA) and cannot be legally used without my written permission.


Shirley says
Is there anything you can use the almonds for after you've made the milk? I would hate to just throw them out if they can be used in other ways.
Thanks so much!
Karielyn says
Hi there Shirley! Yes, there definitely is! You can make almond flour from it and even some deserts with the almond pulp.
I haven't posted any of mine yet, but you can always google "almond pulp recipes" for some ideas or check back and hopefully I'll get mine posted soon.
Thanks for your question 😉