
Here's Why This Recipe Works
My top 3 favorite reasons:
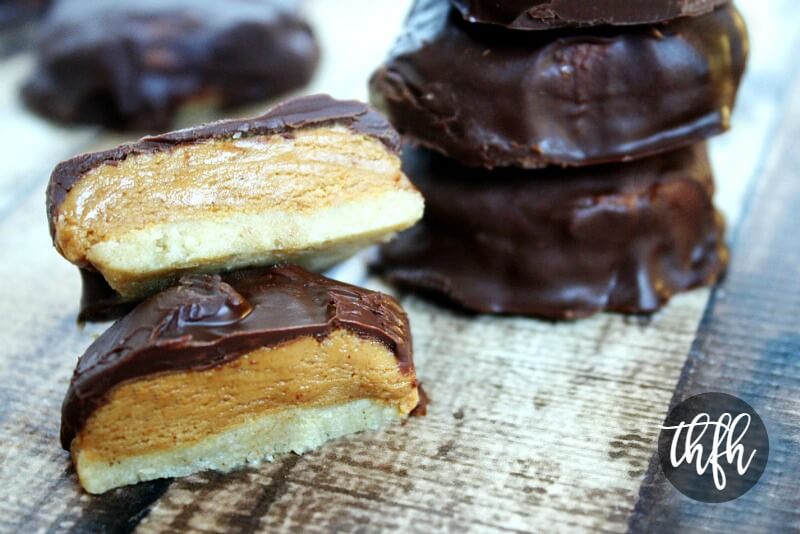
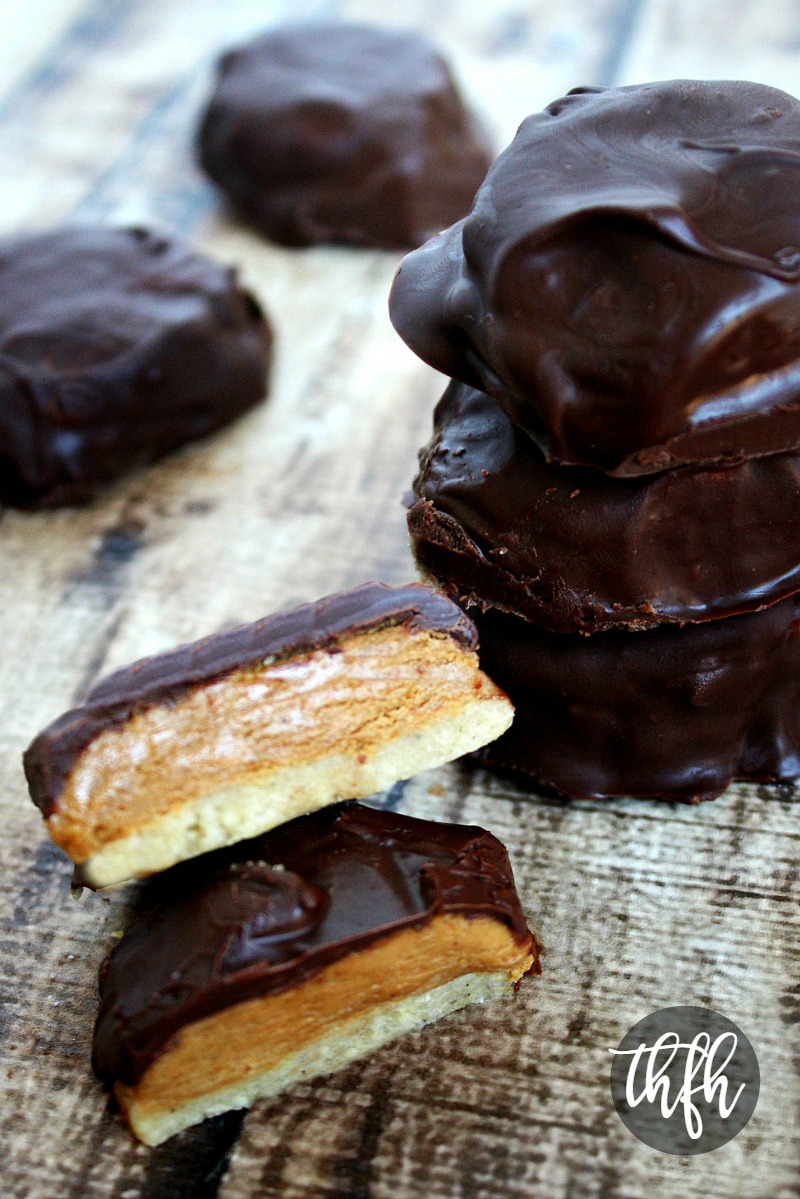
- Healthier No-Bake Version Of The Popular "Girl Scout" Cookies
- Can Be Prepared In About 20 Minutes
- Made With Clean, Real Food Ingredients
You can feel good about making my healthy, plant-based recipe because it's vegan, gluten-free, dairy-free-soy-free, egg-free, no-bake, and contains no refined sugar.

How To This Recipe: Step-by-Step Instructions:
Here's how to make this recipe and I'll show you with step-by-step instructions below:
Karielyn's Expert Tips + Ingredient Substitutions
Here are some of my expert tips to make this recipe perfectly:
Tip #1: This recipe can be made with homemade peanut butter using a Vitamix.
Tip #2: These are best cold, right out the freezer!
Frequently Asked Questions
Are These Healthier Than The Girl Scout Cookies?
In my opinion, yes!
Here's the ingredient list in the original Girl Scout Tag-A-Long Cookies:
- S.A.D. (Standard American Diet) Girl Scout Peanut Butter Patties Tagalongs Ingredients: Sugar, Peanut Butter (Peanuts, Corn Syrup Solids, Palm Oil, Salt), Enriched Flour (Wheat Flour, Niacin, Reduced Iron, Thiamine Mononitrate, Riboflavin, Folic Acid), Vegetable Oil (Palm Kernel and Palm Oils), Cocoa (Processed with Alkali), High Fructose Corn Syrup, Baking Soda, Soy Lecithin, Salt, Monocalcium Phosphate, Ammonium Bicarbonate, Natural and Artificial Flavor
And here's the ingredient list for homemade Girl Scout Tag-A-Long Cookies:
- S.A.D. (Standard American Diet) Homemade Tagalong Typical Ingredients: 1 cup butter, ½ cup white sugar, 2 cups white flour, 2 tbs milk, 1 ½ cups peanut butter, ¾ cup confectioners sugar, 4 tbs butter, etc.
They have dairy (butter and milk), refined sugar (white sugar and confectioners sugar), and white flour, so they aren't vegan or gluten-free.
Want More Healthy Plant-Based No-Bake Dessert Recipes?
Check out these:
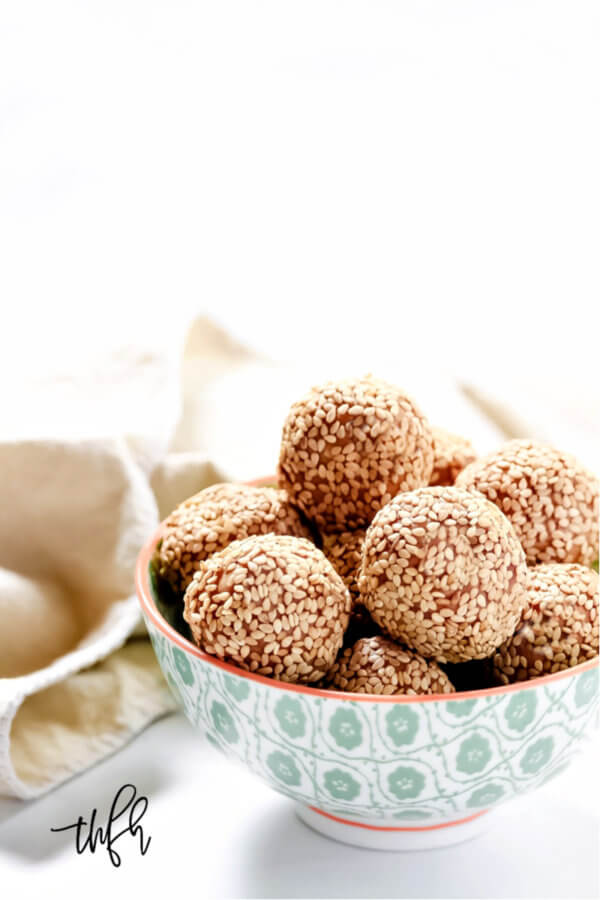
- Triple Seed Energy Balls
- No-Bake Black Forest Bars
- Chocolate Banana Cheesecake
- or my CLEAN DESSERTS Cookbook with 72 plant-based no-bake dessert recipes made with clean, real food ingredients just like this one that you will love!
Did You Make This Recipe?
I'd love to hear about it! Please give it a rating and leave a comment below...it would make my day! 🙂
Gluten-Free Vegan No-Bake Peanut Butter Tag-A-Long Cookies
Equipment
- Mixing Bowls
Ingredients
For the cookie layer:
- 1 cup organic almond flour
- ¼ cup organic maple syrup
- ¼ cup organic coconut oil
- 2 tablespoons organic coconut flour
- ¼ teaspoon organic pure vanilla extract
- ⅛ teaspoon Himalayan pink salt
For the peanut butter filling:
- ¾ cups organic peanut butter
- 2 tablespoons organic maple syrup
- 2 tablespoons organic coconut flour (+2 tablespoons, only if needed)
For the chocolate coating:
- 1 cup Enjoy Life semi-sweet mini chocolate chips
- 1 tablespoon organic coconut oil
Instructions
- Prepare a cookie sheet lined with parchment paper, then set aside.
For the cookie layer:
- Add all ingredients for the cookie layer to a medium-size mixing bowl and stir until everything is well combined. The mixture should be slightly moist and sticky.
- Transfer the cookie mixture to the prepared cookie sheet and form it into a large ball. Place an extra piece of parchment paper on top of the cookie ball and press it down evenly into a flat 8 x 8 square shape. You can also use a rolling pin to flatten it out.
- Place the cookie sheet in the freezer for approximately 15 minutes, or until firm, while you prepare the peanut butter filling.
For the peanut butter filling:
- Add all ingredients for the peanut butter layer to a small mixing bowl and stir until well combined and smooth. Depending on the consistency of the peanut butter you use, you may need to add 1-2 extra tablespoons of coconut flour to get the mixture thick enough to roll into a ball shape. Add (1) tablespoon of coconut flour at a time until the mixture firms, but only as needed.
- Take one spoonful of the mixture at a time and roll it between the palms of your hands into a ball shape. Flatten the ball between the palms of your hands into a round cookie shape about 2-inches in diameter.
Assembly - Part 1
- Remove the cookie sheet from the freezer and place the flattened peanut butter balls on top of the cookie layer side-by-side and leaving a little space in between each one. Then, return the cookie sheet to the freezer to approximately 15 minutes to firm. (See collage photo #1 in the post).
- Remove the cookie sheet from the freezer again and using the tip of a sharp knife, cut out the base of each flattened peanut butter ball, using the peanut butter disc as a "cookie-cutter". Remove the excess pieces of cookie mixture. When finished, the cookie layers should be the same size as the flattened peanut butter balls. (See collage photo #2 in the post).
- Place the cookie sheet back in the freezer while you prepare the chocolate topping.
Prepare the chocolate topping:
- Add all ingredients for the chocolate topping to a small saucepan and melt on the lowest heat and stirring the entire time until it's completely melted and smooth, taking care to not let it burn.
Assembly - Part 2
- Remove the cookie sheet from the freezer and dip each two-layer cookie into the melted chocolate so the cookie is completely covered on all sides, using a fork to flip them over and to let the excess chocolate drip off. (See collage photo #3 in the post).
- Place the cookie sheet back in the freezer one last time for approximately 30-60 minutes, to firm.
- Store them in the freezer until you are ready to serve them because they will get soft and lose their shape if you leave them out at room temperature.
Recipe Notes
Nutrition Information
Copyright Notice
The instructions, notes, and photographs for this recipe by Karielyn Tillman of The Healthy Family and Home™ website are copyrighted material. This copyrighted work is protected and licensed under a Creative Commons Attribution Non-Commercial No Derivatives 4.0 International License and the Digital Millenium Copyright Act (DMCA) and cannot be legally used without my written permission.


Iris K. says
I am so loving your recipes - thank you for sharing them! I've made these cookies several times and they are sooooo AMAZING!
Lazy day question for the next time I make them - any reason why I couldn't layer these ingredients in a pan and put the chocolate just over the top for a bar-type treat?
TIA - Iris
Karielyn says
Hi there Iris! Thank you so much for your kind words...I really appreciate it!
I think that would be a great idea (I'm all for lazy and shortcuts!) and don't see any reason why that wouldn't work so I would definitely give it a try.
Thanks for your question and I'm so glad to hear that you've been enjoying the recipe 🙂