My Gluten-Free Vegan Naturally Colored Coconut Eggs are an easy and healthy recipe made with only 10 clean, real food ingredients. They're the perfect no-bake plant-based dessert that's an Easter candy treat everyone will love!
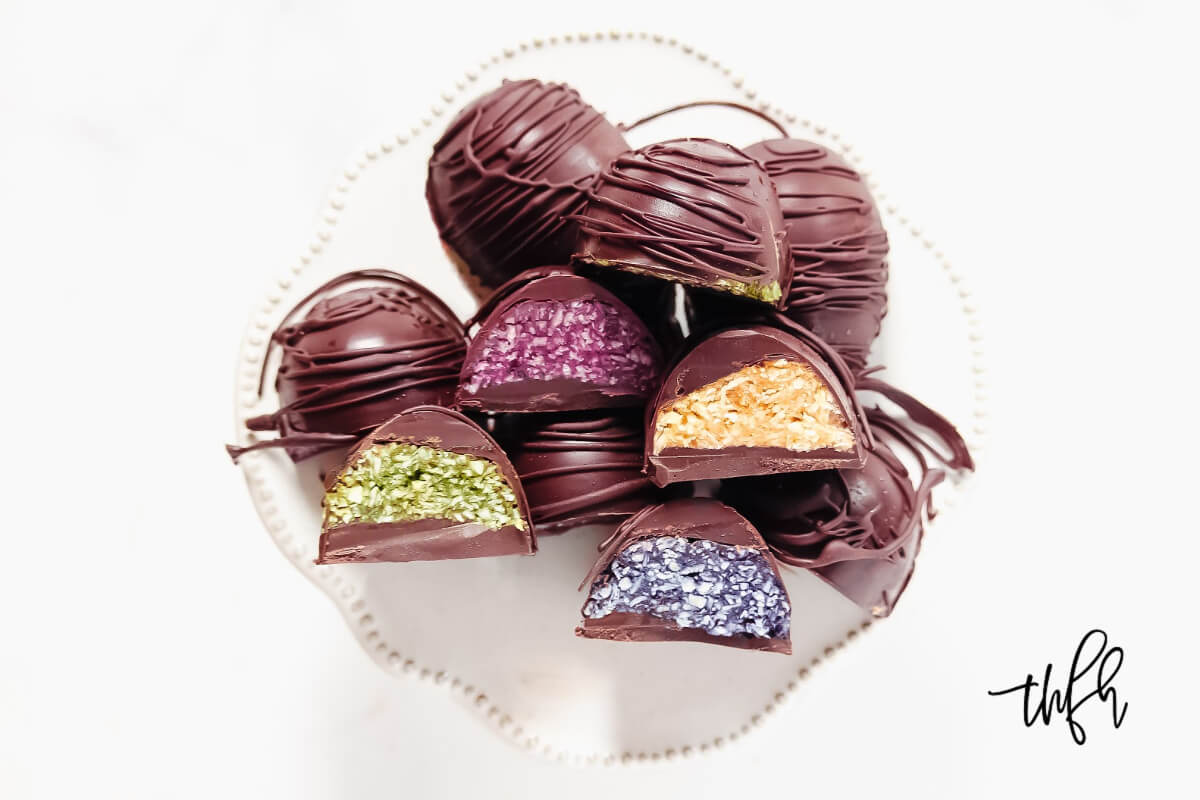
Estimated reading time: 34 minutes
Table of Contents
Here's Why This Recipe Works
My top 3 reasons:
- It's Healthy No-Bake Plant-Based Dessert - It's a cleaned-up, healthy version of store-bought "Bounty Bars" or "Mounds Bars" candy bars in a fun Easter egg-themed shape!
- Can Be Prepared In About 20 Minutes - Just a few simple steps and no special equipment needed except a silicone egg mold.
- Made With Clean Real Food Ingredients - You'll love how you can make this recipe with only 10 ingredients such as shredded coconut, maple syrup, almond flour, coconut oil, semi-sweet chocolate chips, Himalayan pink salt, and natural food coloring!
Feel good about enjoying my recipe because it's plant-based, vegan, gluten-free, dairy-free, soy-free, egg-free, no-bake, no refined sugar, and paleo-friendly.
"Feel good about what you eat..."
- Karielyn Tillman
Ingredients
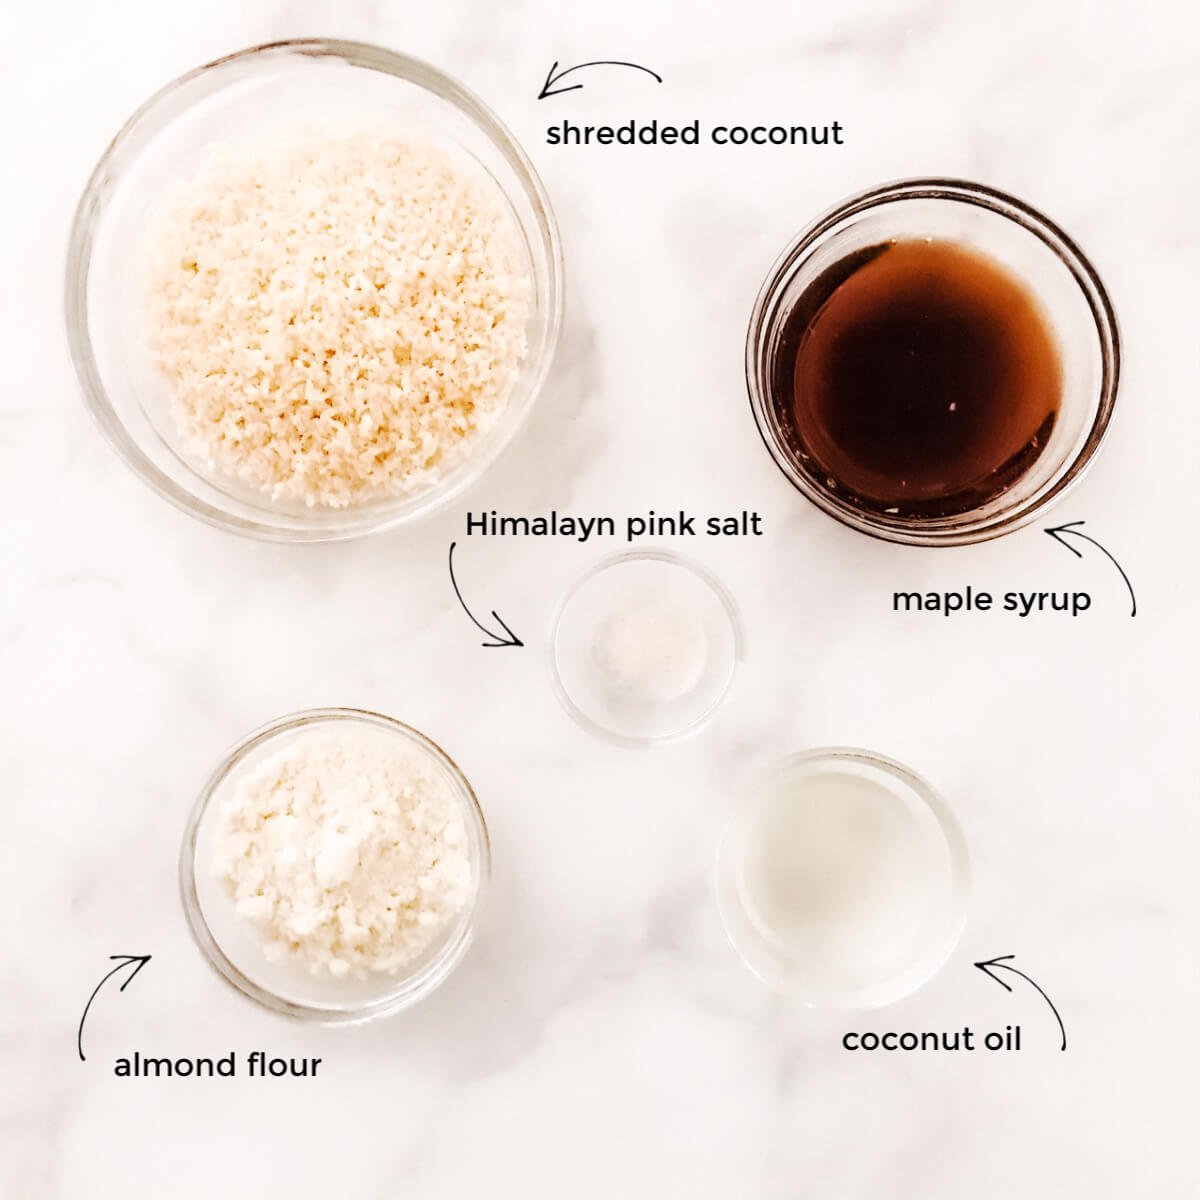
Here are the nutrient-dense ingredients needed to make this recipe:
- Unsweetened Coconut
- Almond Flour
- Maple Syrup
- Coconut Oil
- Himalayan Pink Salt
- Enjoy Life Semi-Sweet Chocolate Chips
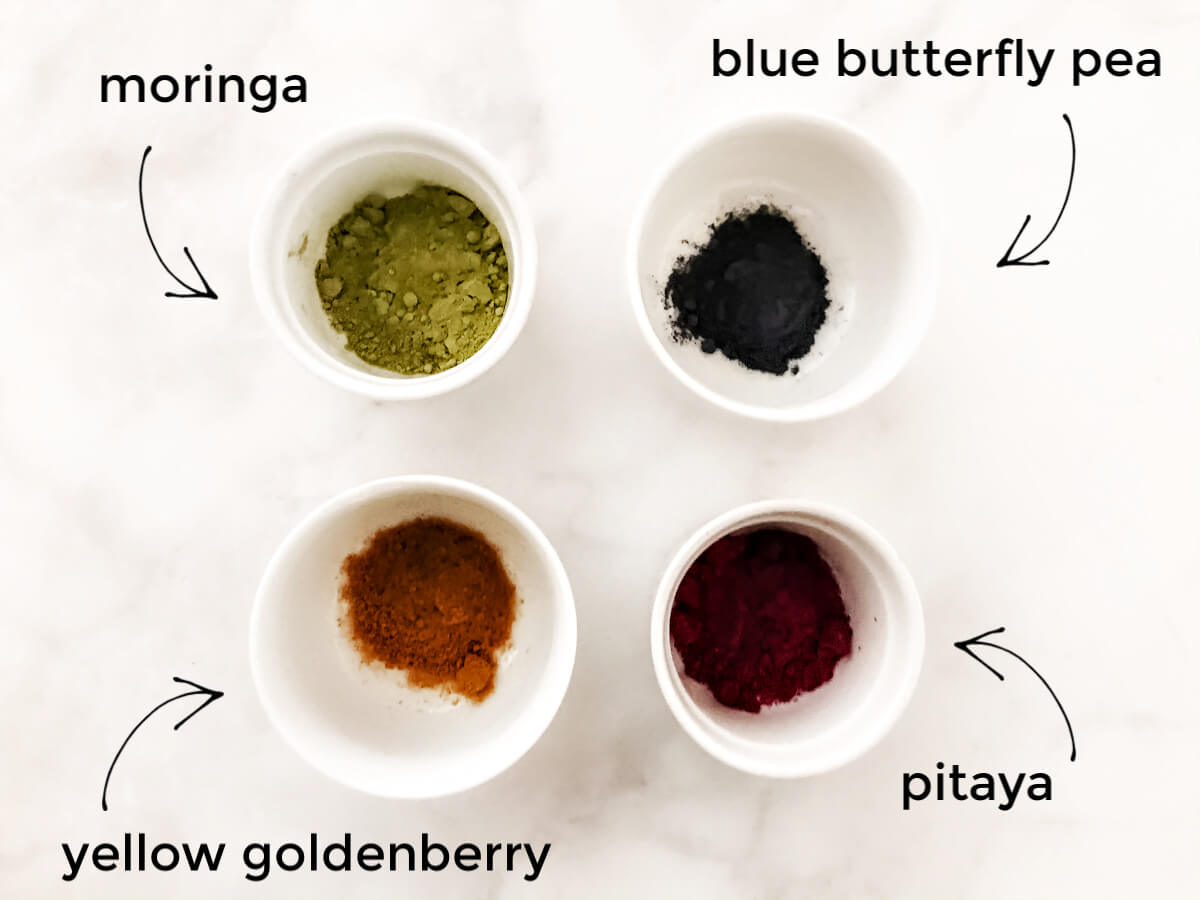
- Yellow Goldenberry Powder (natural yellow color)
- Pitaya Powder (natural pink color)
- Moringa Powder (natural green color)
- Blue Butterfly Pea Power (natural blue color)
That's it! My natural-colored Vegan Coconut Eggs are super easy to make!
How To Make This Recipe: Step-by-Step Instructions
Here is how to make this recipe and I'll show you with step-by-step instructions below.
Before beginning, place the silicone egg mold in the freezer to chill while you prepare the melted chocolate.
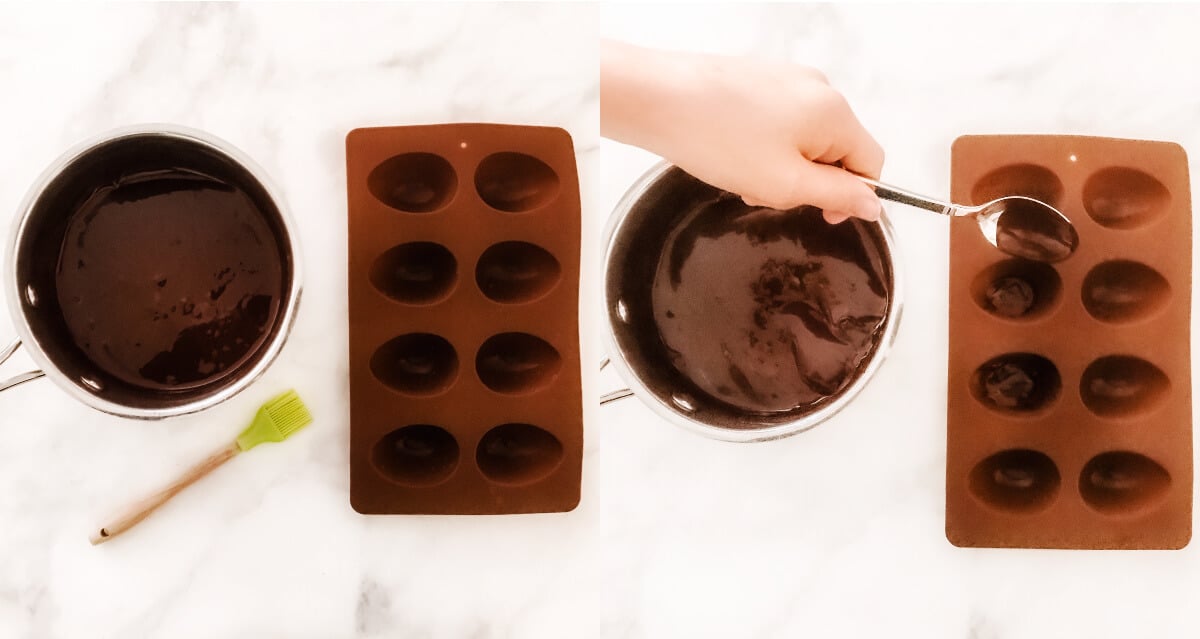
Step 1: Melt Chocolate + Prep The Egg Mold
Firstly, melt the chocolate in a small saucepan on the lowest heat, stirring the entire time and taking care to not let it burn.
Add about (1) tablespoon of melted chocolate into each empty egg cavity.
Using a small silicone brush or the back of a spoon, spread the melted chocolate along the entire perimeter of the egg mold.
Place the egg mold back into the freezer while you prepare the coconut filling.
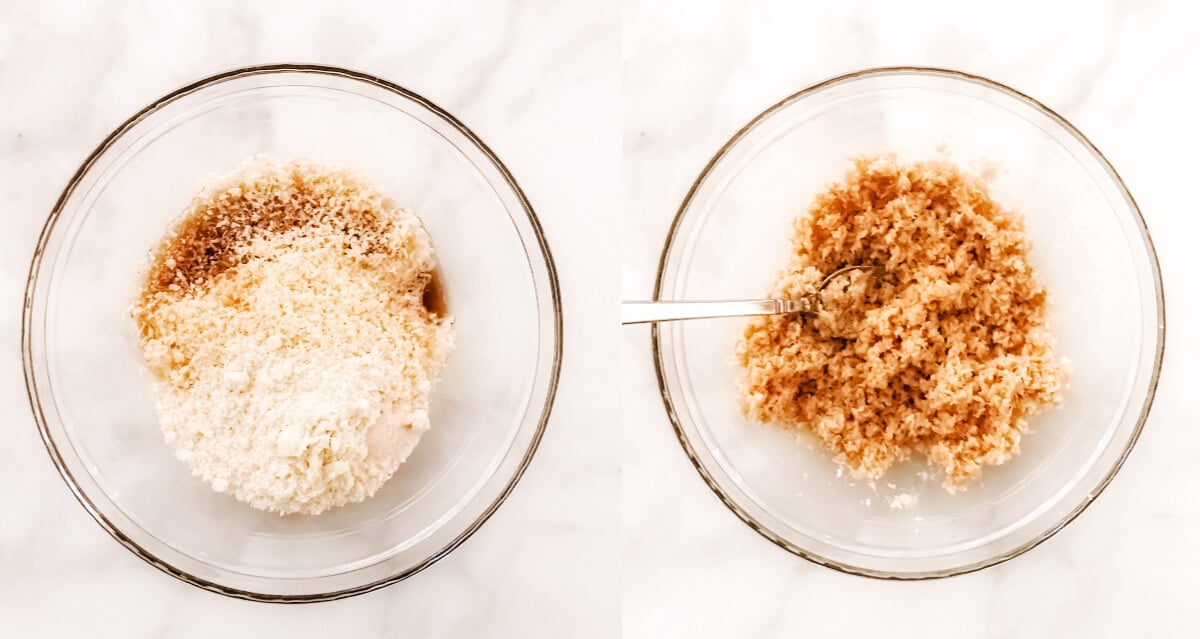
Step 2: Prepare The Coconut Filling Base
Secondly, add all ingredients for the coconut filling to a medium-size mixing bowl and stir until well combined.
Step 3: Divide The Mixture
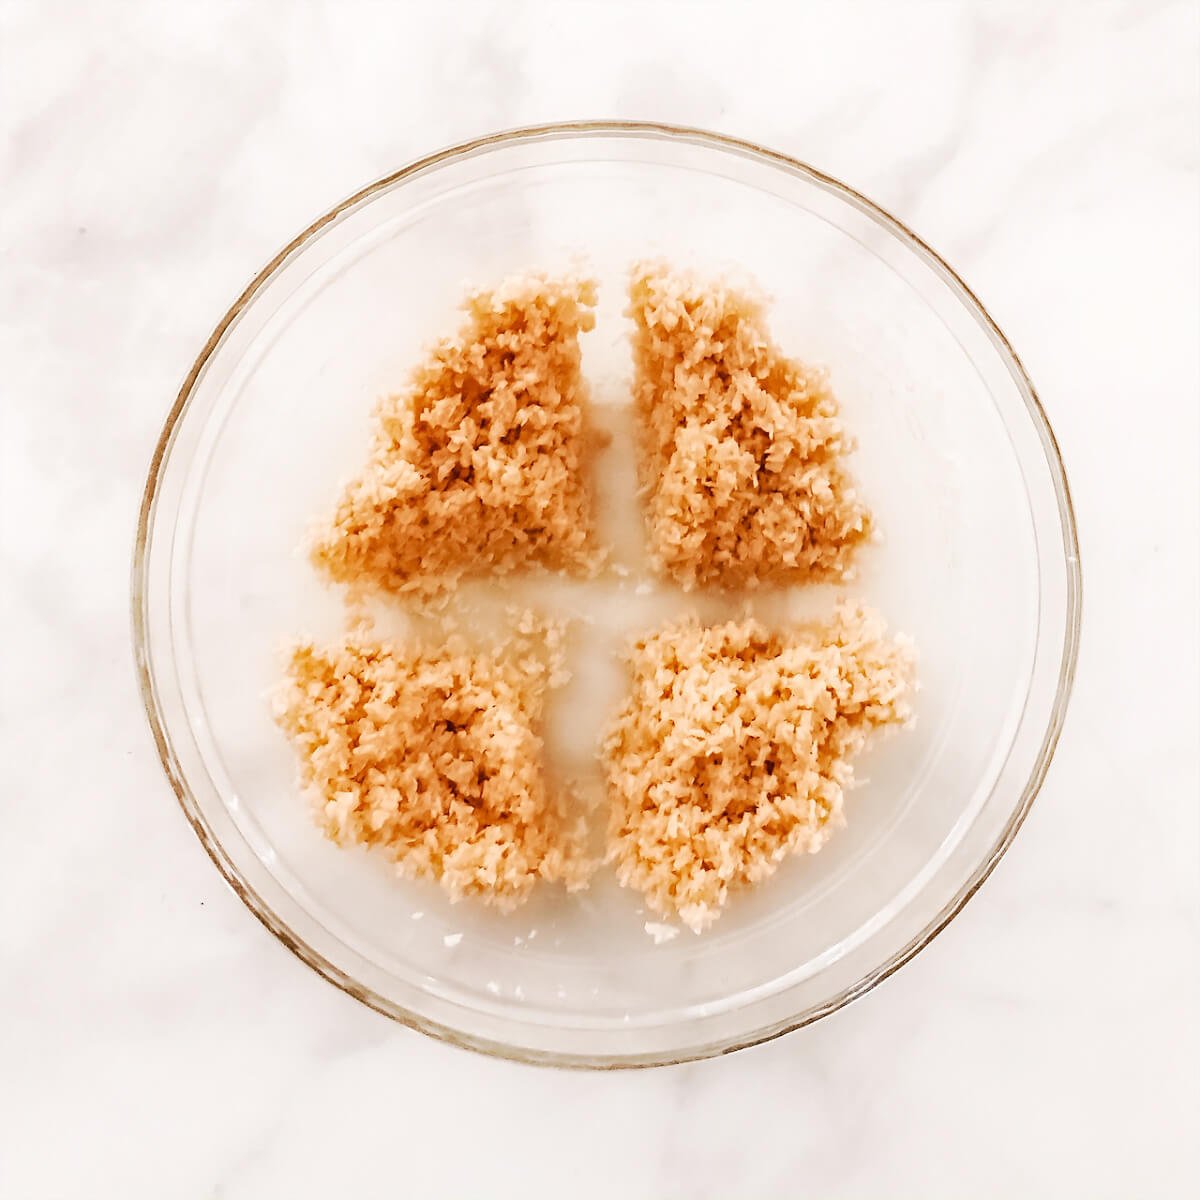
Thirdly, divide the mixture evenly into (4) sections, then transfer into (4) small mixing bowls.
Step 4: Add The Natural Coloring
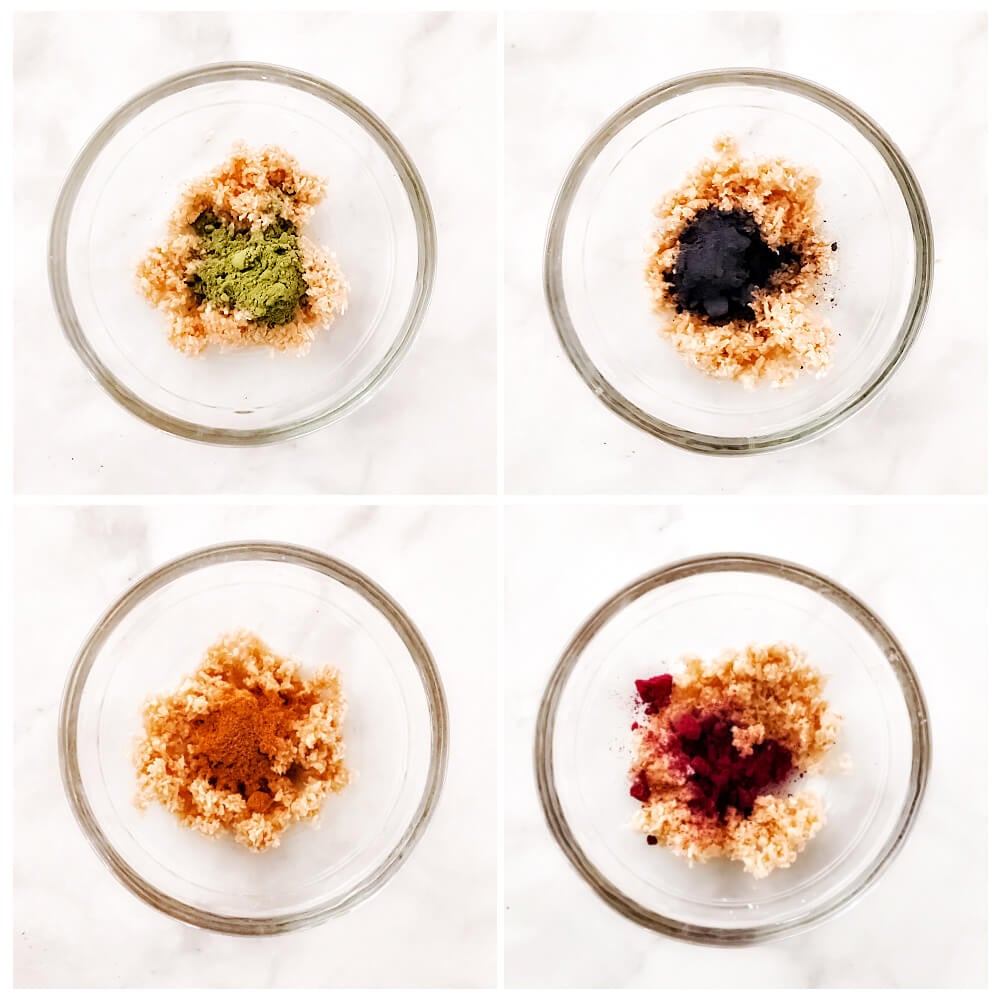
Fourthly, gather the natural colorings of your choice then add to each bowl of the coconut filling.
Step 5: Mix The Natural Coloring + Coconut Mixture
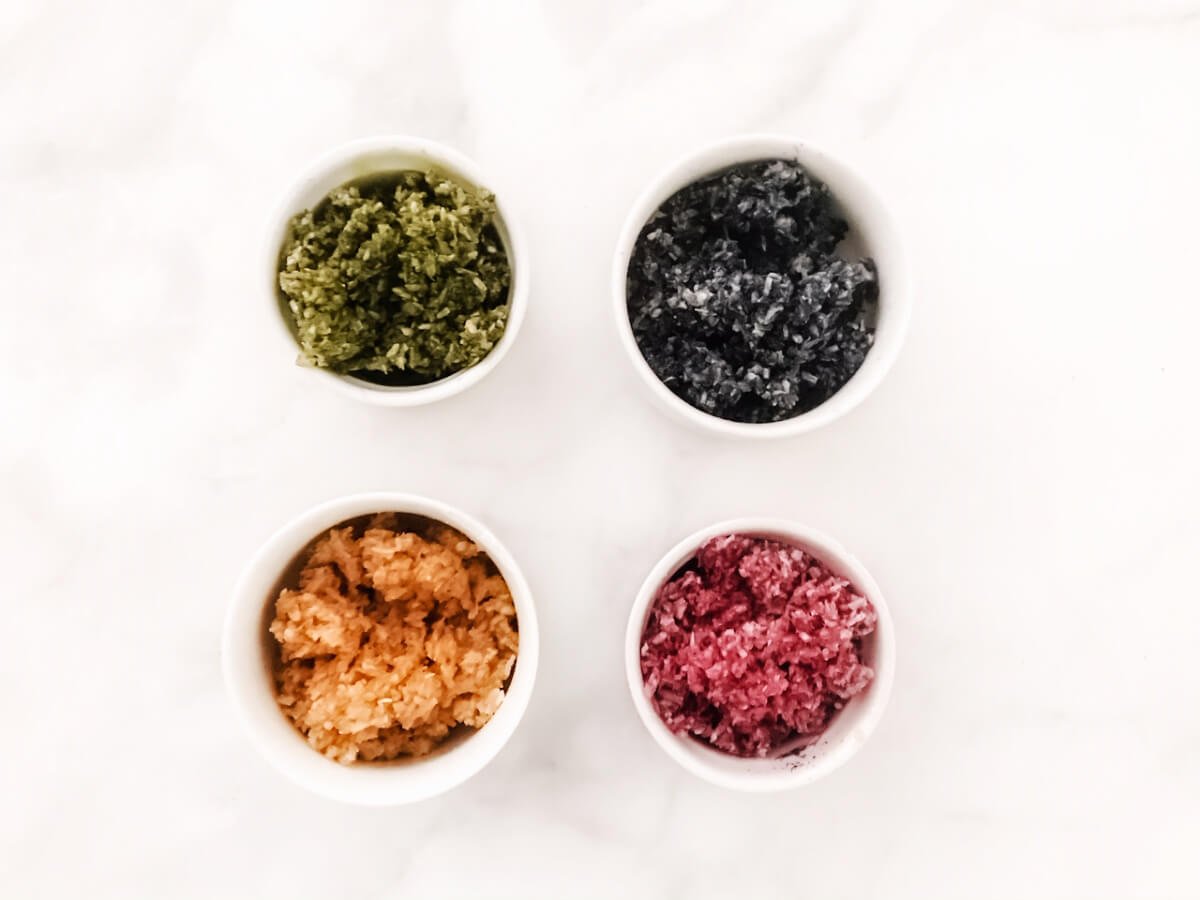
Fifthly, mix the natural coloring and coconut mixture in each bowl until well combined.
Step 6: Assembly
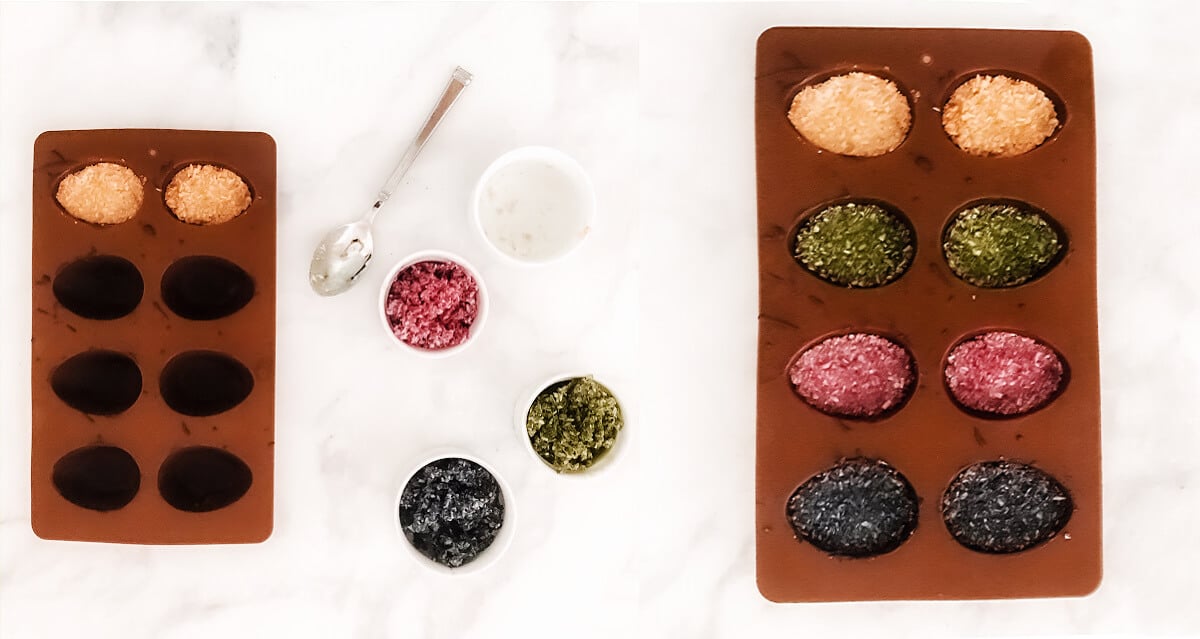
Sixthly, remove the chilled egg mold from the freezer.
Next, transfer the coconut mixture into the egg molds and dividing each cup of coconut mixture in half to make (2) eggs. For example, divide the green coconut mixture in half to fill (2) egg cavities, divide the blue coconut mixture in half to fill (2) egg cavities, divide the yellow coconut mixture in half to fill (2) egg cavities and divide the pink coconut mixture in half to fill (2) egg cavities.
Press the coconut filling firmly into each cavity.
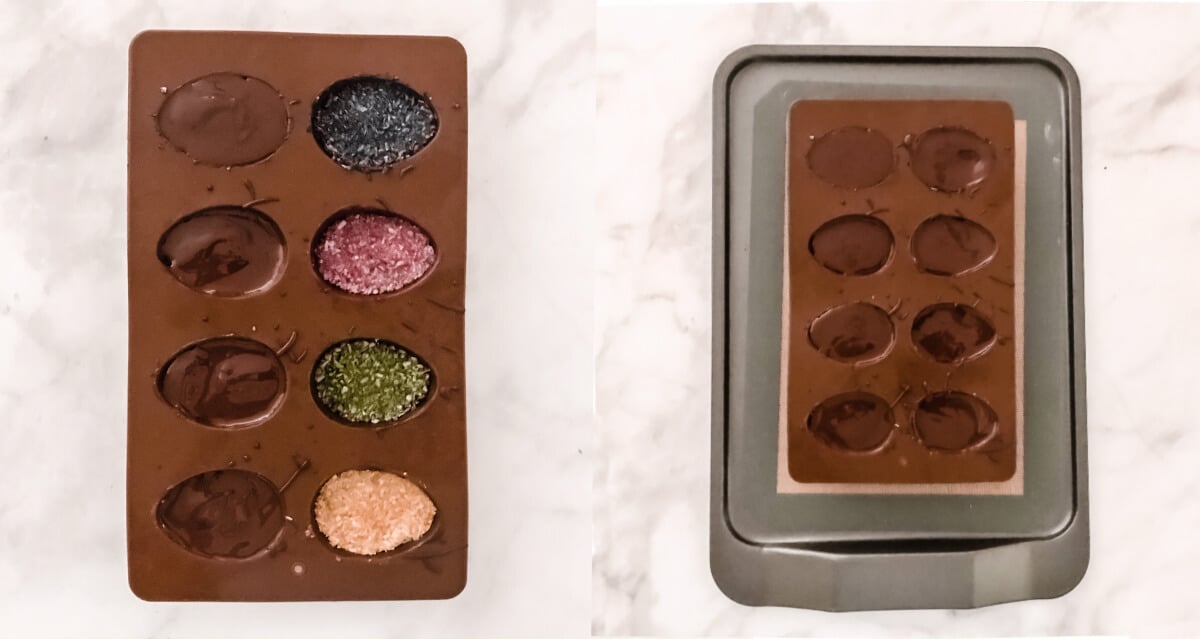
Using a spoon, pour about (1) tablespoon of melted chocolate over the top of each coconut filled egg cavity until the chocolate reaches the top edge of the molds.
Place the egg mold onto a cookie sheet then return the egg mold to the freezer for approximately 60 minutes, or until they are hardened.
Step 7: How To Store
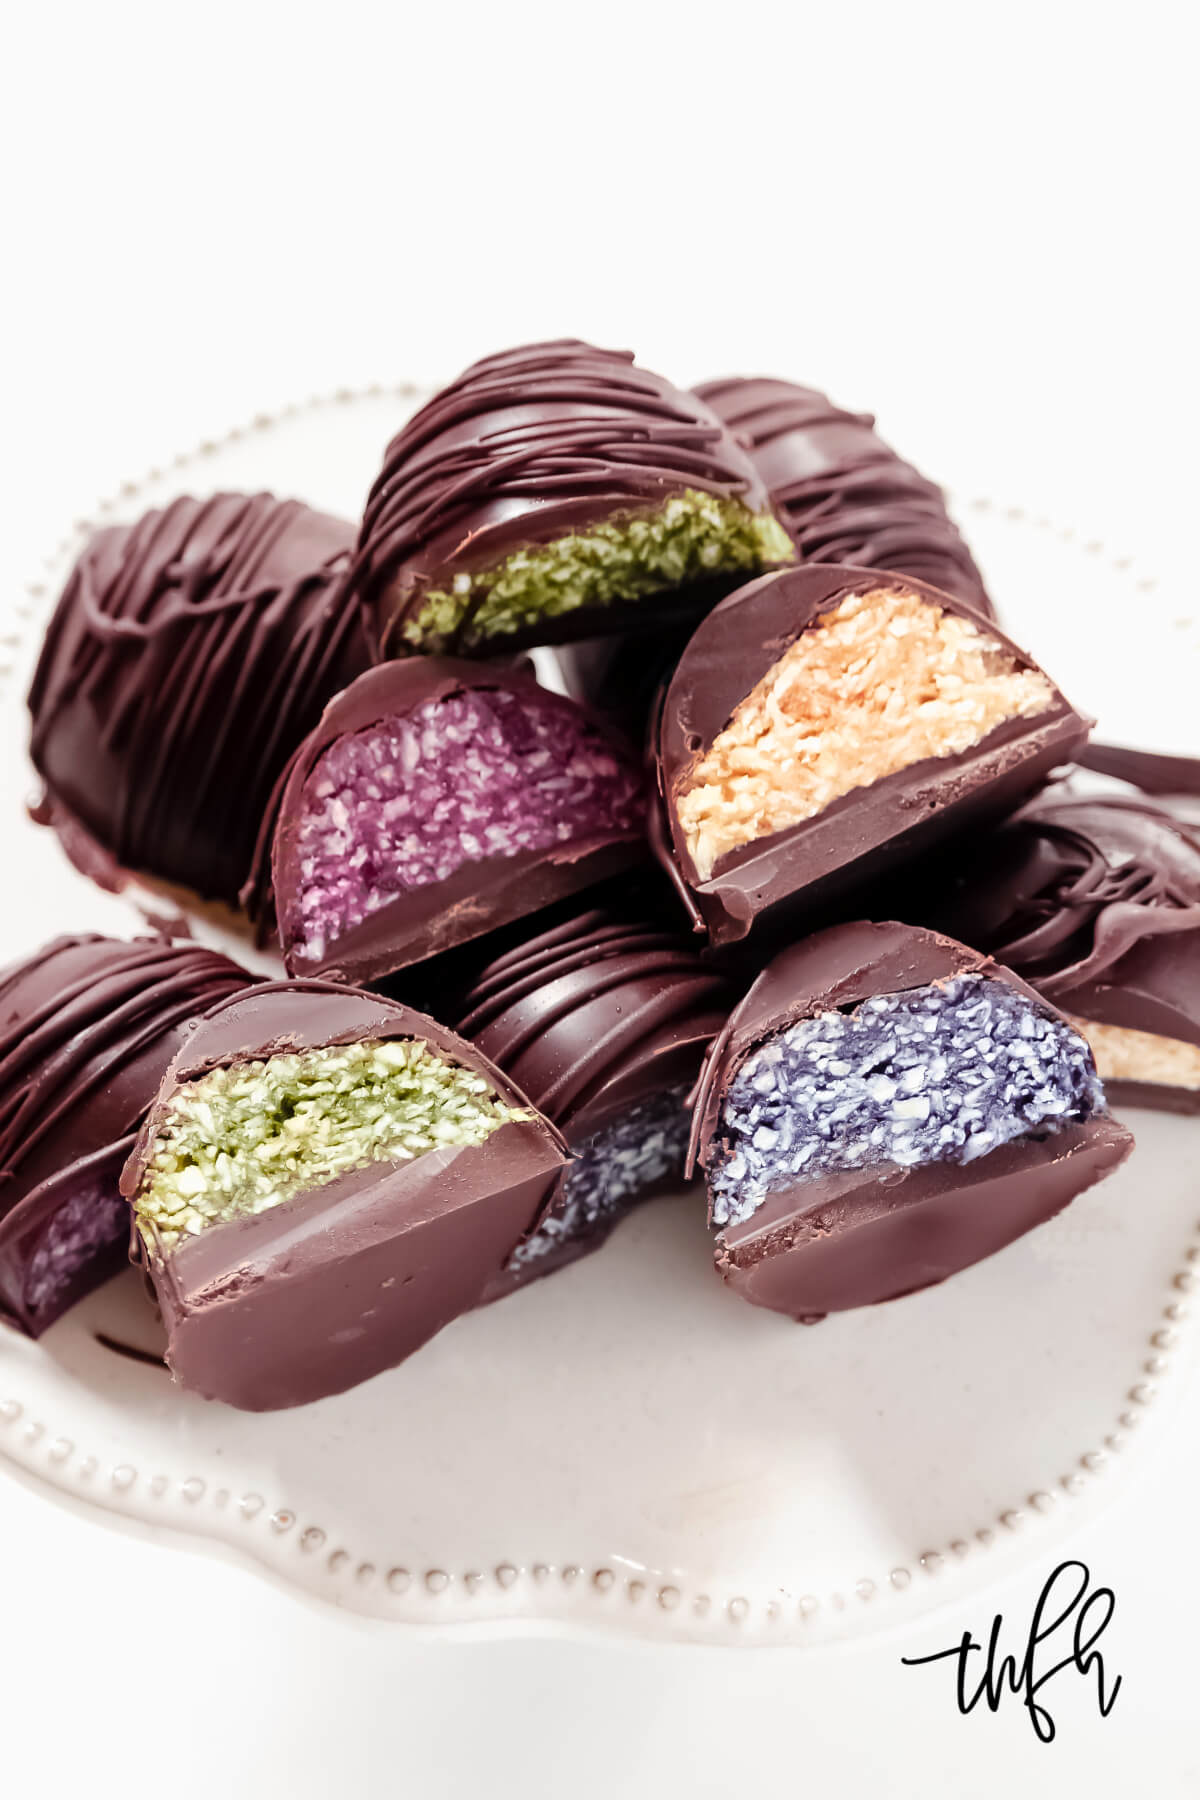
Lastly, store the coconut eggs in an air-tight BPA-free container in the refrigerator or freezer until ready to serve because they will get soft and lose their shape if left out at room temperature.
Frequently Asked Questions
Not at all!
You can make a healthy plain version of a regular "Bounty Bar" with just the coconut filling. Simply omit the added natural food coloring for a healthy no-bake treat!
In addition, if you didn't have or didn't want to buy four different colors, you could make the eggs with just one or two colors.
You may be hesitant to splurge to buy the four suggested superfoods to use as a natural food coloring for this recipe, but don't worry...you can use the rest of the contents for other recipes!
Here are some things you can use the leftover superfoods for:
1. Add to smoothies
2. Add to overnight oats or oatmeal
3. Add to chia pudding like my Dragon Fruit Chia Pudding
4. Add to homemade vegan ice cream like my Superfood Ice Cream
5. Add to vegan cheesecakes like my Spirulina Cheesecake.
5. Use as a natural food coloring like my Gluten-Free Vegan Iced Cut-Out Cookies
Yes! If you don't have an egg mold, you can mold the eggs by hand and follow these instructions:
1. Follow the regular instructions from Step 2 - Step 5 above.
2. Instead of placing the coconut mixture into the egg molds, squeeze about (1) tablespoon at a time in your fist to make it tight and compact, then use your fingertips to form it into an egg shape.
3. Place them onto a cookie sheet lined with parchment paper.
4. Transfer the cookie sheet to the freezer to firm for approximately 15-30 minutes, or until firm.
5. Melt the chocolate according to Step 1.
6. Remove the coconut eggs from the freezer and dip them into the melted chocolate, making sure they are completely covered.
7. Return the coconut eggs back to the freezer for approximately 15-30 minutes, or until the chocolate hardens.
Instead of using semi-sweet chocolate chips, you can make raw homemade chocolate using this recipe.
Yes, except this is a healthy, plant-based + gluten-free version.
For example, ingredients for the classic store-bought "Bounty Bars" are:
Sugar, Grated Coconut (21%), Glucose Syrup, Cocoa Mass, Cocoa Butter, Emulsifiers (Mono and Diglycerides of Fatty Acids, E442, Soy Lecithin), Skimmed Powdered Milk Powder, Butter Oil, Humectant (Glycerol, Lactose, Demineralized Whey Powder), Salt, Flavors.
And the ingredient list for the American version "Mounds Bars": Corn Syrup, Semi-Sweet Chocolate (Chocolate, Sugar, Milk Fat, Lecithin, Polyglycerol Polyricinoleate, Vanillin [Artificial Flavor], Milk), Coconut, Sugar, Contains 2% or Less of: Salt, Hydrolyzed Milk Protein, Sodium Metabisulfite (To Maintain Freshness).
You will need to store the coconut eggs in the refrigerator or freezer until ready to serve because they will get soft and lose their shape if left out at room temperature.
Store them in an air-tight BPA-free container for up to 2-4 weeks to enjoy as a quick treat.
Karielyn's Expert Tips + Ingredient Substitutions
Here are some of my expert tips to make this recipe perfectly:
Coconut: I used organic unsweetened shredded coconut for this recipe. Using the finely shredded coconut makes it possible to mix in a bowl with other ingredients without having to use a processor. If you use large flake coconut, you could add it to a food processor with the remaining ingredients for the coconut filling to break it down into small pieces.
Maple Syrup: Can be substituted with another liquid sweetener like organic date nectar, organic coconut nectar or a sugar-free sweetener.
Coconut Oil: If you don't like the taste or smell of coconut oil, you can use organic refined coconut oil which has zero coconut taste or smell.
Himalayan Pink Salt: This is my salt of preference, however, you can always substitute with sea salt.
Chocolate Chips: Since the chocolate chips will be melted, you can use either standard-size chocolate chips or mini chocolate chips. In addition, you can also make homemade chocolate as a substitute.
Natural Colorings: All the natural colorings I used were organic and in powder form. However, there are other substitutions you could use for example:
- Blue - Blueberry Powder
- Yellow - Turmeric
- Green - Spirulina
- Pink - Beet Powder
Order Recipe Ingredients
Shop for ingredients to make this recipe and my favorite kitchen tools all in one place!
Gluten-Free Vegan Naturally Colored Coconut Eggs
Equipment
Ingredients
For the coconut filling:
- 1 ¼ cups organic unsweetened shredded coconut
- ¼ cup almond flour
- ¼ cup organic maple syrup
- 2 tablespoons organic coconut oil
- ⅛ teaspoon Himalayan pink salt
For the color add-ins:
- 1 teaspoon organic yellow goldenberry powder* (for yellow color)
- 1 teaspoon organic pitaya powder* (for pink color)
- 1 teaspoon organic moringa powder* (for green color)
- 1 teaspoon organic blue butterfly pea powder* (for blue color)
For the chocolate coating:
- 1 cup Enjoy Life semi-sweet mini chocolate chips
- 1 tablespoon organic coconut oil
Instructions
- Prepare the egg mold by placing it in the freezer to chill while you prepare the chocolate, or for approximately 5-10 minutes.
Prepare the chocolate coating:
- Add all ingredients for the chocolate coating to a small saucepan and melt on the lowest heat, stirring the entire time and taking care to not let it burn.
- Remove the egg mold from the freezer.
- Add a tablespoon of melted chocolate into the first egg mold and using the back of a spoon, gently "paint" the side of the egg mold so that some of the melted chocolate covers all of the side surfaces of the mold.
- Repeat the previous step for each of the egg molds but only do one at a time because the chocolate will start to harden quickly and it will be hard to spread on the sides once it's hardened.
- Set aside the remaining melted chocolate.
- Place the egg mold onto a cookie sheet lined with parchment paper and place it in the freezer while you prepare the coconut filling.
For the coconut filling:
- Add all ingredients for the coconut filling to a medium-size mixing bowl and stir until everything is well combined.
- Divide the filling equally into (4) small bowls.
- Add (1) teaspoon of the natural coloring of your choice to each bowl and stir until well combined.
Assembly:
- Remove the egg mold from the freezer.
- Take out about (1) tablespoon of the coconut filling at a time and press it firmly into the empty cavity of a silicone egg mold.
- Repeat the previous step until all of the egg cavities are filled.
- Divide the remaining melted chocolate over the tops of each coconut egg, spreading it evenly and making sure to fill all empty spaces around the coconut mixture.
- Place the egg mold back in the freezer for approximately 60 minutes, or until the chocolate has hardened.
- Store in an air-tight BPA-free container in the freezer or refrigerator until ready to serve because they will get soft and lose their shape if left out at room temperature.
Recipe Notes
- Blue - Blueberry Powder
- Yellow - Turmeric
- Green - Spirulina
- Pink - Beet Powder
Nutrition Information
Copyright Notice
The notes, instructions, and photographs for this recipe are copyrighted material and are protected under the Digital Millenium Copyright Act (DMCA). They cannot be used legally without my written permission.
More Healthy Vegan No-Bake Dessert Recipes
- Wild Blueberry Cheesecake
- Chocolate Chip Cookie Dough Balls
- Cranberry Lemon Truffle Balls
- or my CLEAN DESSERTS Cookbook with 72 plant-based no-bake dessert recipes made with clean, real food ingredients just like this one that you will love!


janiyah vargas says
this is good with tips of how to cook it easily
Karielyn Tillman says
Hi Janiyah! I'm glad to hear that you enjoyed the detailed instructions of how to make the recipe and that you enjoyed it! Thank you for trying out my recipe and taking the time to leave feedback...I sincerely appreciate it! Karielyn 🙂